Swiss Ultralight

Swiss Ultralight

All about trekking, thru-hikes and ultralight equipment

Search results

Close search
Waterdrops on plant

Gore-Tex (Pro) vs Ascentshell, FutureLight, eVent and co.

Comparison of waterproof and breathable laminates for jackets, bivouacs, etc.

Shower in the river

5 quick-tips for good hygiene when hiking

Keep body and equipment clean

Marker of Te Araroa

Overview Te Araroa thru-hike in New Zealand (2020)

Thru-Hiking in New Zealand - a summary

Poncho-Tarp selfmade

Cuben Fiber vs Silnylon vs Silpoly

Advantages and disadvantages of each material for tents and tarps

Balls of wool

Merino vs Synthetic vs Cotton

Improve your comfort with the right material

Ultralight Footprint

Ultralight Footprints DIY

The 1 Euro tent pad - protection for the tent floor

Passport for customs

Visa and entry in New Zealand

Applying for the right visa for Te Araroa

Emergency lego image

Insurance and precautions for the hike

Avoid high costs in case of an accident

Finances and administration

How much does it cost to hike Te Araroa?

Start with enough money and minimize worries

Hiker looking up mountain

My gear list of Te Araroa

PLB and other equipment

Mobile phone

Phone providers in New Zealand

Watch out when buying data

Compass in hand

Navigating Te Araroa

Using apps to not get lost on the trail

Food on trail

Resupply / Water / Gas / Poste Restante

Stocking up on supplies on Te Araroa

Bluff sign in New zealand

Starting point of Te Araroa in New Zealand

Where the trail starts and how to get there

Hot sun

UV Rays and the New Zealand Heat

Protect your skin

Stormy weather

Unpredictable new zealand weather

Te Araroa can be stormy

Hat and sleeping bag

Hut's and wild camping on the Te Araroa

Backcountry Pass and other preparations

Helping hand at hiking

Trail Angels and Koha in New Zealand

Give and take on Te Araroa

Beach with single person

Other hikers and HYOH

Don't lose sight of your goal

Cute Rat

Sandflys, rats and possums

Some annoying fellow hikers

River in NZ

Crossing rivers on Te Araroa

Be prepared and don't risk anything!

Kayak on Whanganui River

Whanganui River kayaking

Spend 7 days on the water

A random road

Shuttle for river crossing Raikaia and Rangitata

Bypassing the two big rivers

Oldschool gaiters

Gaiters to keep stones out of your shoes

Minimize blisters and sores while hiking

Man drinking water

Nalgene VS CamelBak VS PET bottle

Which hydration system for hiking?

Pills

Vitamin 'I' also called Ibuprofen

Painkillers for hiking

Rainwear for hiking a comparison of options

Poncho vs Rain Jacket

Elevation profile Te Araroa Compass Example Image

Elevation profile - Te Araroa 2019/2020

Elevation profile according to the latest data

Garmin InReach Mini

SOS devices (PLB) for thru-hikes and dangerous hikes

Cell phone reception at the end of the world

Therm-a-Rest NeoAir Xlite Large shortened

Ultralight sleeping pads for hiking

The difference between shivering and sleeping at night.
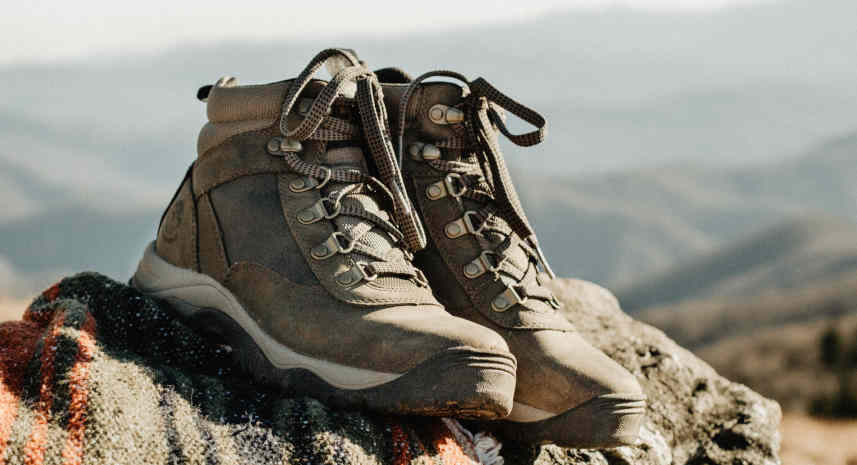
Shoes, Gore-Tex and Gaiters

From leather boots to sandals made from car tires

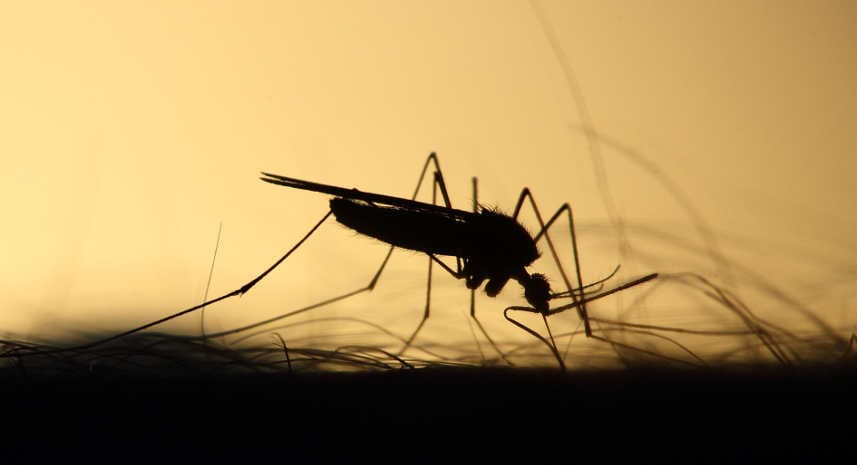
Mosquito seeks blood

Insect protection in comparison

DEET, permethrin, picaridin: what helps against insects?

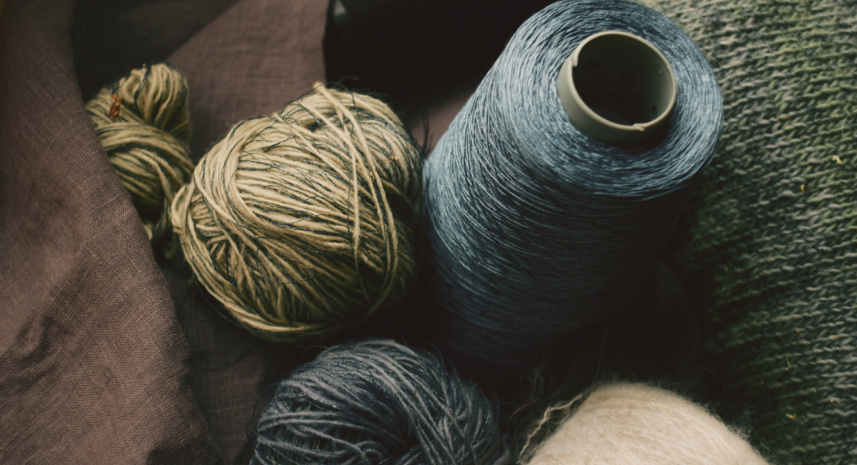
Different Fabrics and Yarn

Cuben-Fiber (Dyneema Composite), X-Pac, Cordura and co.

Comparison of different ultralight materials

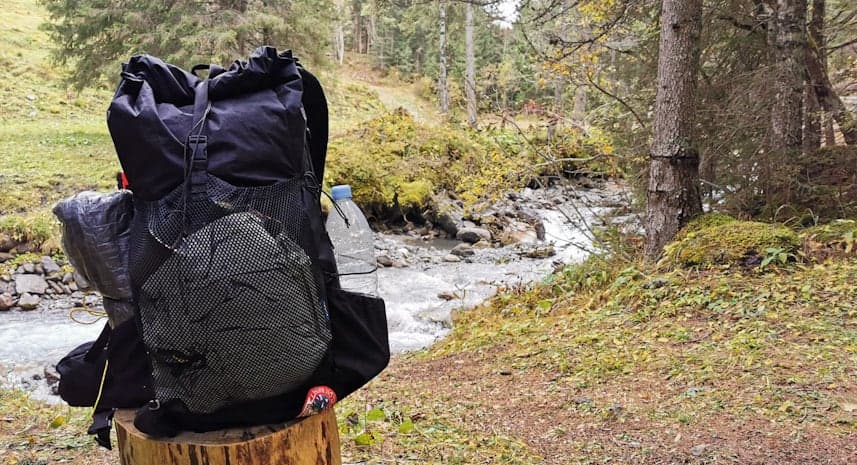
Backpacks in grass

Ultralight hiking backpacks tips and recommendations

...and the fall from Mount Everest

Tiny Backpack

Base Weight Definitions

What do the different terms mean?

Guy with Quilt

Quilt or sleeping bag the pros and cons

Synthetic vs Down

Buff

Buff - bandana, headband, sweatband

An insanely versatile tube scarf

Cooker at night

The Super Cat Alcohol Stove (aka Fancy feast stove)

Gasoline stove from metal can

Survival knife

Knife, axe and shovel

Survival on the hike

Ultralight sleeping pads for hiking

The difference between shivering and sleeping at night.

3 minutes read

Therm-a-Rest NeoAir Xlite Large shortened

A sleeping pad provides protection from cold ground. It also massively increases comfort. The “R-Value” indicates how high the degree of insulation is. The higher the R-Value the better the insulation. For snow, an R-Value of 5+ makes sense. In warmer weather, 2+ is perfectly adequate.

The so-called self-inflatable sleeping pads should be ignored. Inside is a spreading foam, which creates the effect. This brings a lot of additional grams with it. Basically, the sleeping pad just partially inflates itself and it still needs to fill up with air fully.

When choosing an ultralight sleeping pad, one inevitably comes across Therm-a-Rest. In particular, the NeoAir collection which are probably unbeatable in the warmth / comfort / weight ratio.

The X-Lite might be the most widely used sleeping pad among Ultralight hikers. Unfortunately, the Small and Regular version is relatively narrow cut so for bigger people the arms might fall down on the side. The Large, however, is ideal with a width of 63 cm. However, with a length of 196 cm very long. A much desired mix of a hip-length mat like the Small version with the width of the Large version has unfortunately not delivered Therm-A-Rest so far. However, the mat can be shortened relatively easily and resealed. At your own risk.

Overview of common isomats

NameLength (cm)Width (cm)Thickness (cm)R-ValueWeight (gram)
Therm-a-Rest NeoAir Uberlite Regular183516.42250
Therm-a-Rest NeoAir Xlite Regular183516.43.2340
Therm-A-Rest Z Lite Sol1835122.6410
Therm-a-Rest NeoAir Xtherm Regular183516.45.7430
Sea to Summit Comfort Plus Insulated183556.35785
Sea To Summit Comfort Light Insulated184556.34.2620
Sea To Summit UltraLight1845550.7395

Shorten Therm-a-Rest NeoAir Xlite Large sleeping pad to hip length

The following is needed:

  • Therm-a-Rest NeoAir Xlite Large
  • scissors
  • Iron (and ironing board)

Step 1: Determine length

The length must be determined individually. At 184 cm, my mat is now 130 cm long and weighs 319 grams new.

Step 2: Test run

Since the mat is not exactly cheap, it is recommended as a test to add about 20cm to the determined length and cut horizontally through there as a test. The layers in the mat give relatively well the line for cutting. After cutting through, the plastic film as well as the shiny insulation film is revealed.
Important: Only the yellow material (coated nylon) can be welded. The inner plastic film is attached to the nylon in a Z-pattern. Thus, there is always about 4 cm of space between the inner layers. Now as much as possible of the plastic and the insulation foil must be cut out so that it is not in the way during the welding process. I put the nylon backwards (towards the head) like a sock. It may be necessary to cut the mat a few cm further up to be right after a plastic attachment point to cut out as much as possible.

Step 3: Welding

When enough plastic/iso material has been cut away, there should be a few cm of yellow nylon at the opening which can be pressed together.

Now simply weld the end with the smoothing iron. Again, there should be nothing between the nylon to be welded.

Step 4: Final version

If everything has worked out, the whole process can now be repeated with the originally determined length.

Recent posts